How to Fix a Leaky Faucet: Quick and Simple Steps
Leaky faucet driving you crazy? This guide will show you how to fix a leaky faucet step-by-step. We’ll start with the tools you need, then move on to turning off the water, identifying your faucet type, and detailed repair instructions.
Key Takeaways
Gather essential tools such as screwdrivers, wrenches, and replacement parts before starting the faucet repair to ensure a smooth process.
Identifying the correct faucet type is crucial for determining the appropriate repair approach and required tools.
Regular maintenance and prompt replacement of worn components can prevent future leaks and prolong the lifespan of your faucet.
Quick Links:
Gather Your Tools and Materials
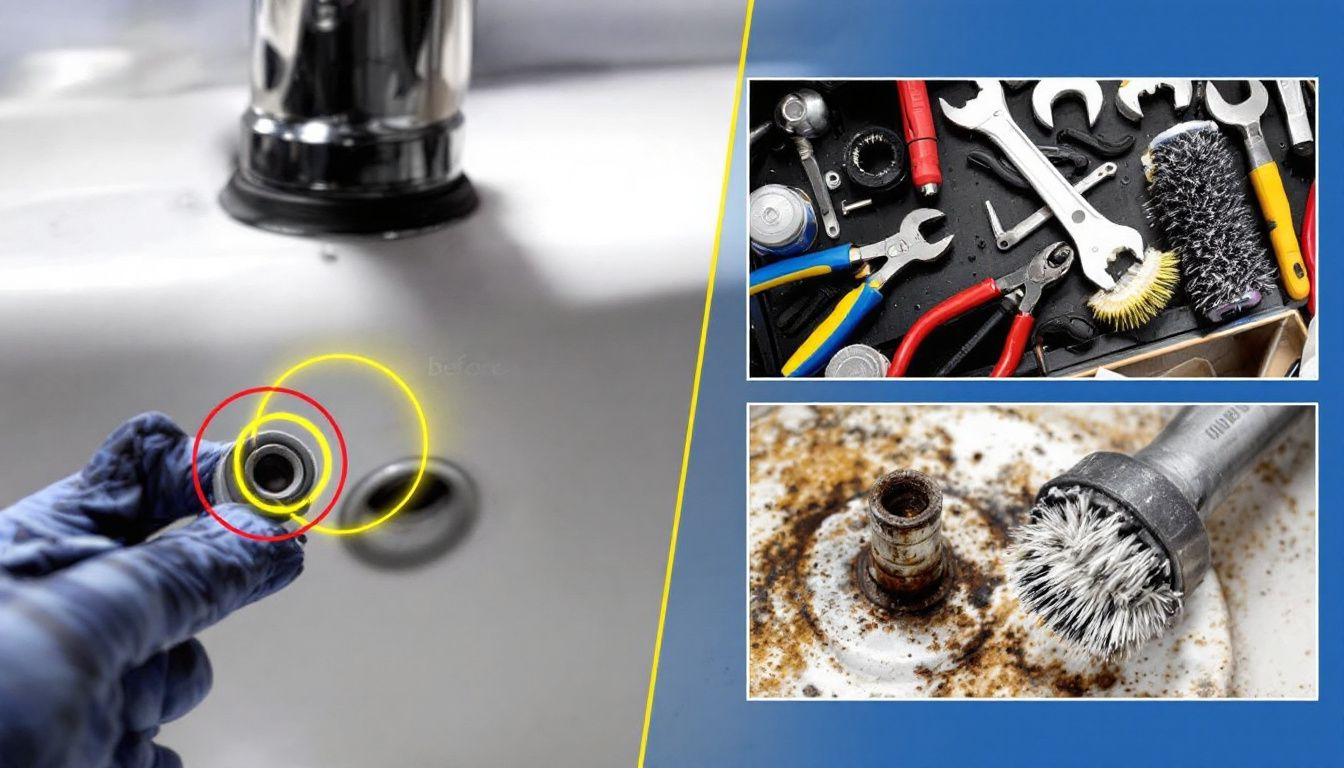
Gather all the tools and materials you’ll need before starting the repair. Essential tools include a flathead screwdriver, adjustable wrench, replacement washers, O-rings, plumber’s grease, and penetrating oil. These items will help prevent damage to the faucet and ensure you don’t misplace parts during the repair.
Most of these tools can be found at your local hardware store. It’s a great place to shop for them. Be sure to have a flat surface to lay out all the parts as you disassemble the faucet. This will help you keep track of everything and ensure a smooth reassembly later on. Needle nose pliers can also be handy for removing small components and seals.
If you’re unsure about the specific replacement parts you need, bring the old parts to the hardware store. The staff can help you find exact matches, which is crucial for a successful repair. Having everything ready before you start will make the entire process much more efficient and less stressful.
Turn Off the Water Supply
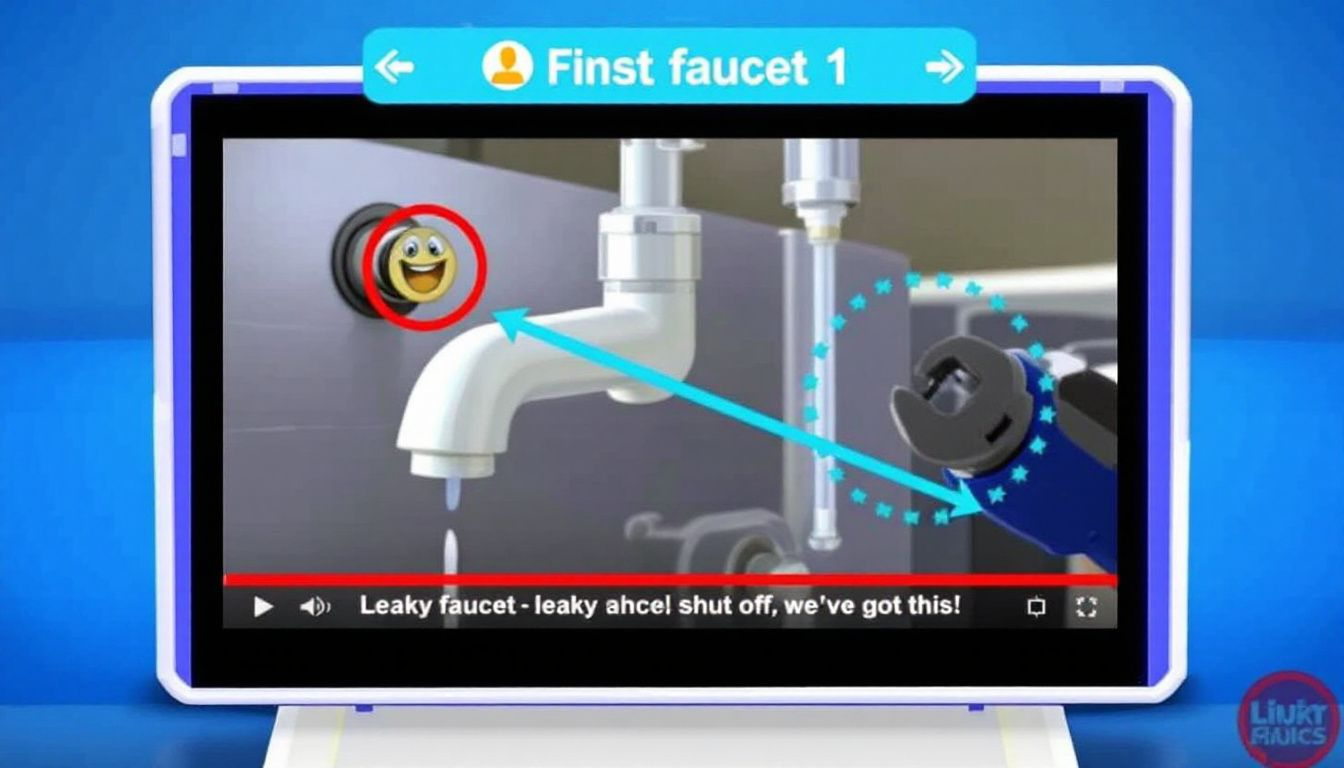
The first and most crucial step in fixing a leaky faucet is to turn off the water supply. Locate the shut-off valves under the sink and close them securely. This step is essential to avoid flooding your workspace and causing further damage.
Once you’ve turned off the water supply, open the faucet to check for water flow. This will confirm that the water supply is indeed off. If water continues to flow, you may need to close the shut-off valves more tightly. In some cases, the valves might be stuck due to mineral buildup or age. If this happens, refer to video guides or seek assistance from your local hardware store.
Relieve the water pressure before disassembling the faucet, making the repair work safer and more manageable. With the water supply securely off, you’re now ready to move on to identifying your faucet type.
Identify Your Faucet Type
Not all faucets are created equal. Identifying your faucet type determines the exact approach and tools you’ll need for the repair process. Faucets can generally be categorized into cartridge, ball, compression, and ceramic disk types.
Cartridge faucets are common in modern kitchens and bathrooms. They typically have a single handle that adjusts water pressure by pulling up and down and temperature by turning left and right. These faucets are known for their smooth operation and reliability.
Ball faucets, often found in kitchens, have a single handle on a rounded cap atop the faucet spout. These faucet handles use a ball faucet mechanism to control water flow and temperature. They are durable but can be a bit tricky to repair due to the numerous small parts involved.
Compression faucets are more traditional and usually have two handles—one for hot water and one for cold. These most leaky compression faucets use rubber washers that get tighter when the handles are turned off. Over time, the washers can wear out, leading to leaks.
Ceramic disk faucets feature a cylinder with tiny discs that control water flow. They are known for their longevity and require less maintenance compared to other types. Knowing your faucet type helps you gather the right tools and approach the repair confidently.
Disassemble the Faucet
Before:
Once you’ve identified your faucet type, it’s time to disassemble it. Start by prying off the decorative cap or button on the handle using a flathead screwdriver. This will expose the handle screw, which you need to unscrew to remove the handle.
After:
Identify your faucet type.
Pry off the decorative cap or button on the handle using a flathead screwdriver.
Unscrew the handle screw to remove the handle.
Next, use slip-joint pliers to unscrew the bonnet from the faucet base. Depending on your faucet type, you might also need to remove additional components like the escutcheon cap or the valve stem. Lay out all parts in the order they were removed on a flat surface to make reassembly easier later on.
For cartridge faucets, you’ll need to remove the cartridge itself, which might require a special tool. Ball faucets require you to remove the ball mechanism, while compression faucets involve taking out the valve seat and washer. Each type has its nuances, so follow the specific steps for your faucet type carefully.
Disassembling the faucet step-by-step ensures you won’t miss any crucial faucet components. With the faucet disassembled, you’re ready to inspect and replace any worn parts.
Inspect and Replace Worn Parts
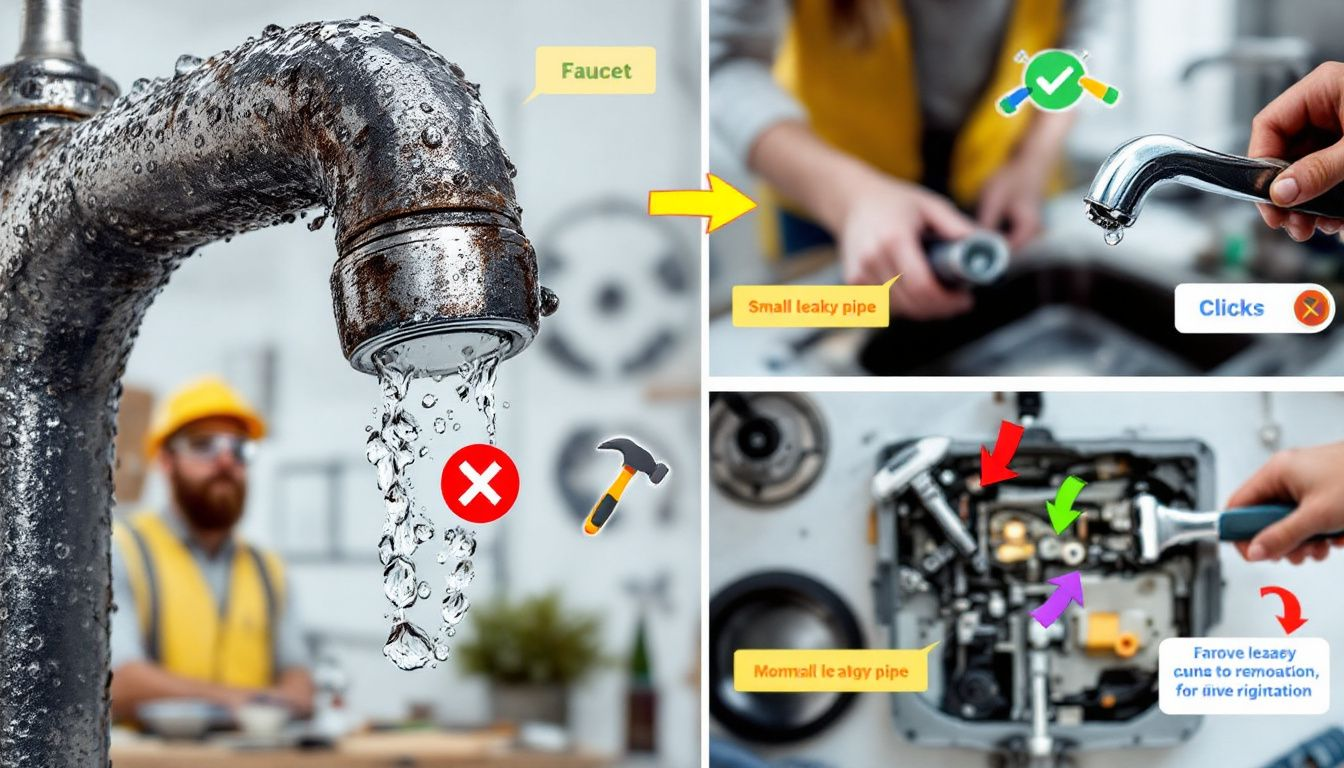
Inspect the internal components of your faucet to identify the cause of the leak. Common parts that need inspection include seals, washers, and O-rings. Look for signs of wear, corrosion, or damage on these parts.
Worn O-rings can lead to leaks and should be replaced to maintain faucet functionality. Similarly, rubber washers, seat washers, and valve seats can deteriorate over time, causing leaks. Replace these parts as soon as you notice any wear or damage. It’s crucial to use exact matches for replacement parts to ensure a proper fit and function.
Bring the old parts to the hardware store and ask for duplicates to ensure you have the right components for the repair. With new parts in hand, you’re ready to clean and reassemble the faucet.
Clean and Reassemble the Faucet
Before reassembling the faucet, take the time to clean all components thoroughly. Use white vinegar to remove mineral buildup from the parts. This will help ensure smooth operation and prevent future leaks.
Lay out all parts in the order they were removed to assist with reassembly. Apply plumber’s grease to moving parts to ensure smooth operation and prolong the life of the components. Align all parts properly for a successful reassembly.
After reassembling the faucet, turn on the water supply slowly to avoid damaging the new parts due to sudden pressure. Let the water run for a few minutes to clear any debris and check for leaks. This step ensures that all parts are functioning correctly and the faucet is sealed properly.
Turn On the Water and Test
With the faucet reassembled, it’s time to turn on the water supply. Turn on the water supply valves slowly to avoid putting too much pressure on the new parts. A sudden rush of water can damage the components and cause leaks. Remember, if you encounter any issues, consider professional faucet repair.
Let the water run freely for a few minutes to flush out any debris that might have entered the system during the repair. This will also help you check for any leaks. If you notice any leaks, you might need to tighten some components or reapply plumber’s grease.
Testing the faucet thoroughly ensures that the repair was successful and that all parts are functioning as they should. With the water flowing smoothly and no leaks in sight, you’ve successfully fixed your leaky faucet.
Common Causes of Leaky Faucets
Understanding the common causes of leaky faucets can help you prevent future issues. One of the most common causes is worn-out washers. These small rubber components can deteriorate due to friction, leading to water leakage.
O-rings, which secure the faucet handle, can also wear out over time. A worn or loose O-ring can cause the faucet handle to leak. Valve seats, which connect the faucet to the spout, can corrode, leading to leaks at the base of the spout.
Water pressure fluctuations can cause a dripping faucet at certain times. If you notice your bathroom faucet dripping intermittently, it might be due to changes in water pressure. Additionally, loose nuts or screws can contribute to leaks in faucets.
Understanding these common causes allows you to address them proactively before they lead to significant problems. Regular maintenance and timely repairs can keep your faucets in top shape.
Preventative Maintenance Tips
Preventative maintenance is key to avoiding future faucet leaks. Check O-rings and other seals regularly, especially if you notice a leaking handle. Conducting regular inspections can help you catch potential issues before they become major problems.
Maintain your faucets by managing water pressure, cleaning aerators, and tightening loose components. Periodically removing and cleaning the aerator can maintain good water flow and prevent mineral buildup. Following the manufacturer’s instructions for maintenance can also ensure the longevity of your faucets.
These simple steps can save you time and money in the long run. By staying proactive, you can enjoy a leak-free home with minimal effort.
When to Call a Professional Plumber
While many faucet repairs can be done yourself, there are times when calling a professional plumber is necessary. Persistent leaks or complex repairs are situations where professional help is advisable. If you’ve tried to fix a leak without success, it’s time to call in an expert.
Signs that you may need to replace your faucet include persistent leaks and visible wear and tear. Ignoring a small leak can lead to extensive water damage over time. Considering the complexities of plumbing issues, contacting a licensed plumber is often the best course of action for major problems.
Identifying when to call a professional can save you from costly repairs and potential water damage. For minor issues, this guide provides all the information you need to fix a leaky faucet yourself.
Summary
Fixing a leaky faucet is a manageable task with the right tools and knowledge. By following the steps outlined in this guide, you can identify your faucet type, disassemble it, inspect and replace worn parts, and reassemble it with confidence. Regular maintenance and understanding common causes of leaks can also help prevent future issues.
With a few simple tools and some basic know-how, you can save money and avoid the hassle of calling a plumber for minor repairs. Don’t let a dripping faucet get the best of you—take control and enjoy a leak-free home.
We hope this guide has empowered you to tackle faucet repairs yourself. Remember, regular maintenance and timely repairs are key to keeping your faucets in top condition. Happy fixing!
Frequently Asked Questions
How do I know which type of faucet I have?
To identify your faucet type, examine its design: if it has a single handle that adjusts temperature and pressure, it is likely a cartridge faucet; a single handle atop a rounded cap indicates a ball faucet; two handles suggest a compression faucet; and a faucet with a cylinder and tiny discs is a ceramic disk type. Understanding these characteristics will help you determine your faucet model effectively.
What tools are needed to fix a leaky faucet?
To fix a leaky faucet, you will need a flathead screwdriver, an adjustable wrench, replacement washers, O-rings, plumber's grease, and penetrating oil. These tools are readily available at most hardware stores.
How do I turn off the water supply?
To turn off the water supply, locate the shut-off valves under the sink and close them securely. Afterward, open the faucet to confirm that the water flow has stopped.
What are the common causes of leaky faucets?
Leaky faucets are commonly caused by worn-out washers, O-rings, valve seats, and fluctuations in water pressure. Addressing these issues promptly can prevent further water waste and damage.
When should I call a professional plumber?
You should call a professional plumber when faced with persistent leaks, complex repairs, or visible wear and tear on your plumbing fixtures. Addressing these issues promptly can help prevent extensive water damage and ensure proper repairs.


